After moving into our new home in April, despite having a two month old and a rambunctious two year old, I went project wild. I unpacked within a couple of days and started sewing up a storm: a headboard for the master bedroom, roman shades for the little guy’s windows, a table runner for Sofia’s bookshelf, shower curtains for the bathrooms etc. And then I crashed. Like started going to bed at eight in the evening crashed. Like couldn’t DIY to save my life crashed.
A few months later…I am finally getting my DIY mojo back. Now it’s just a matter of channeling that energy into one project, one space, at a time.
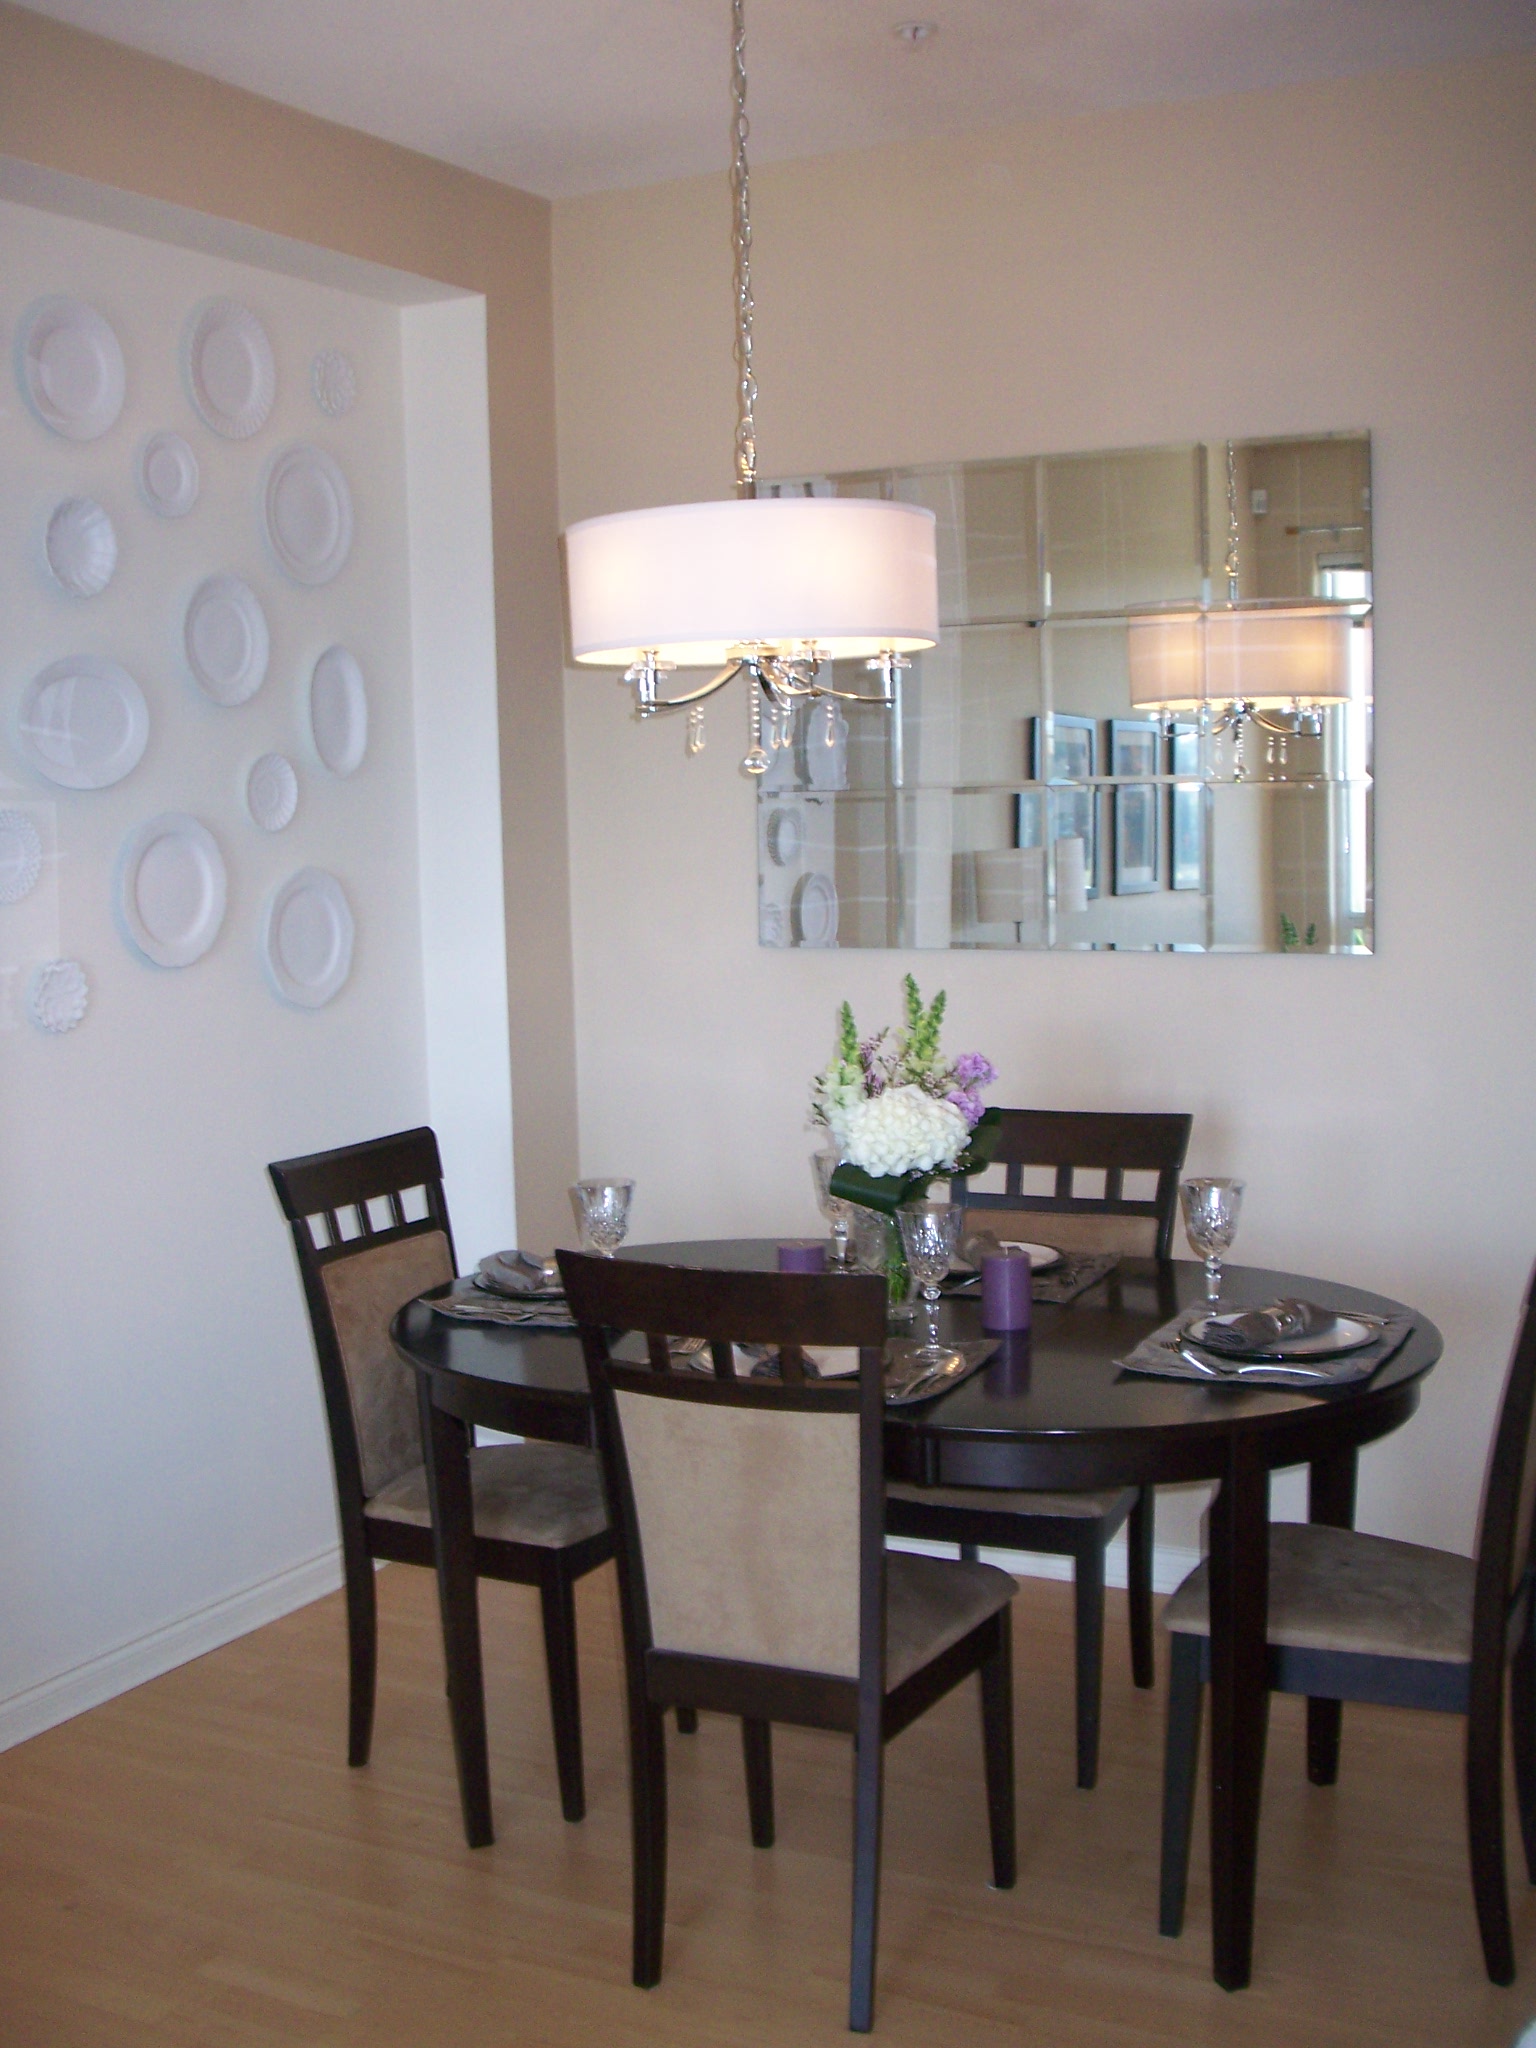
I have several projects sitting in the wings at the moment but I have decided to focus in on my dining area. First step, amp up the pretty (see Copy Cat: My Wall of China). My second step was to shed a little light on the area and bring in some bling. Fancy art and intricate mirrors are not in the budget so I’ve fallen back on an old time favorite for DIY projects: beveled mirror tiles.
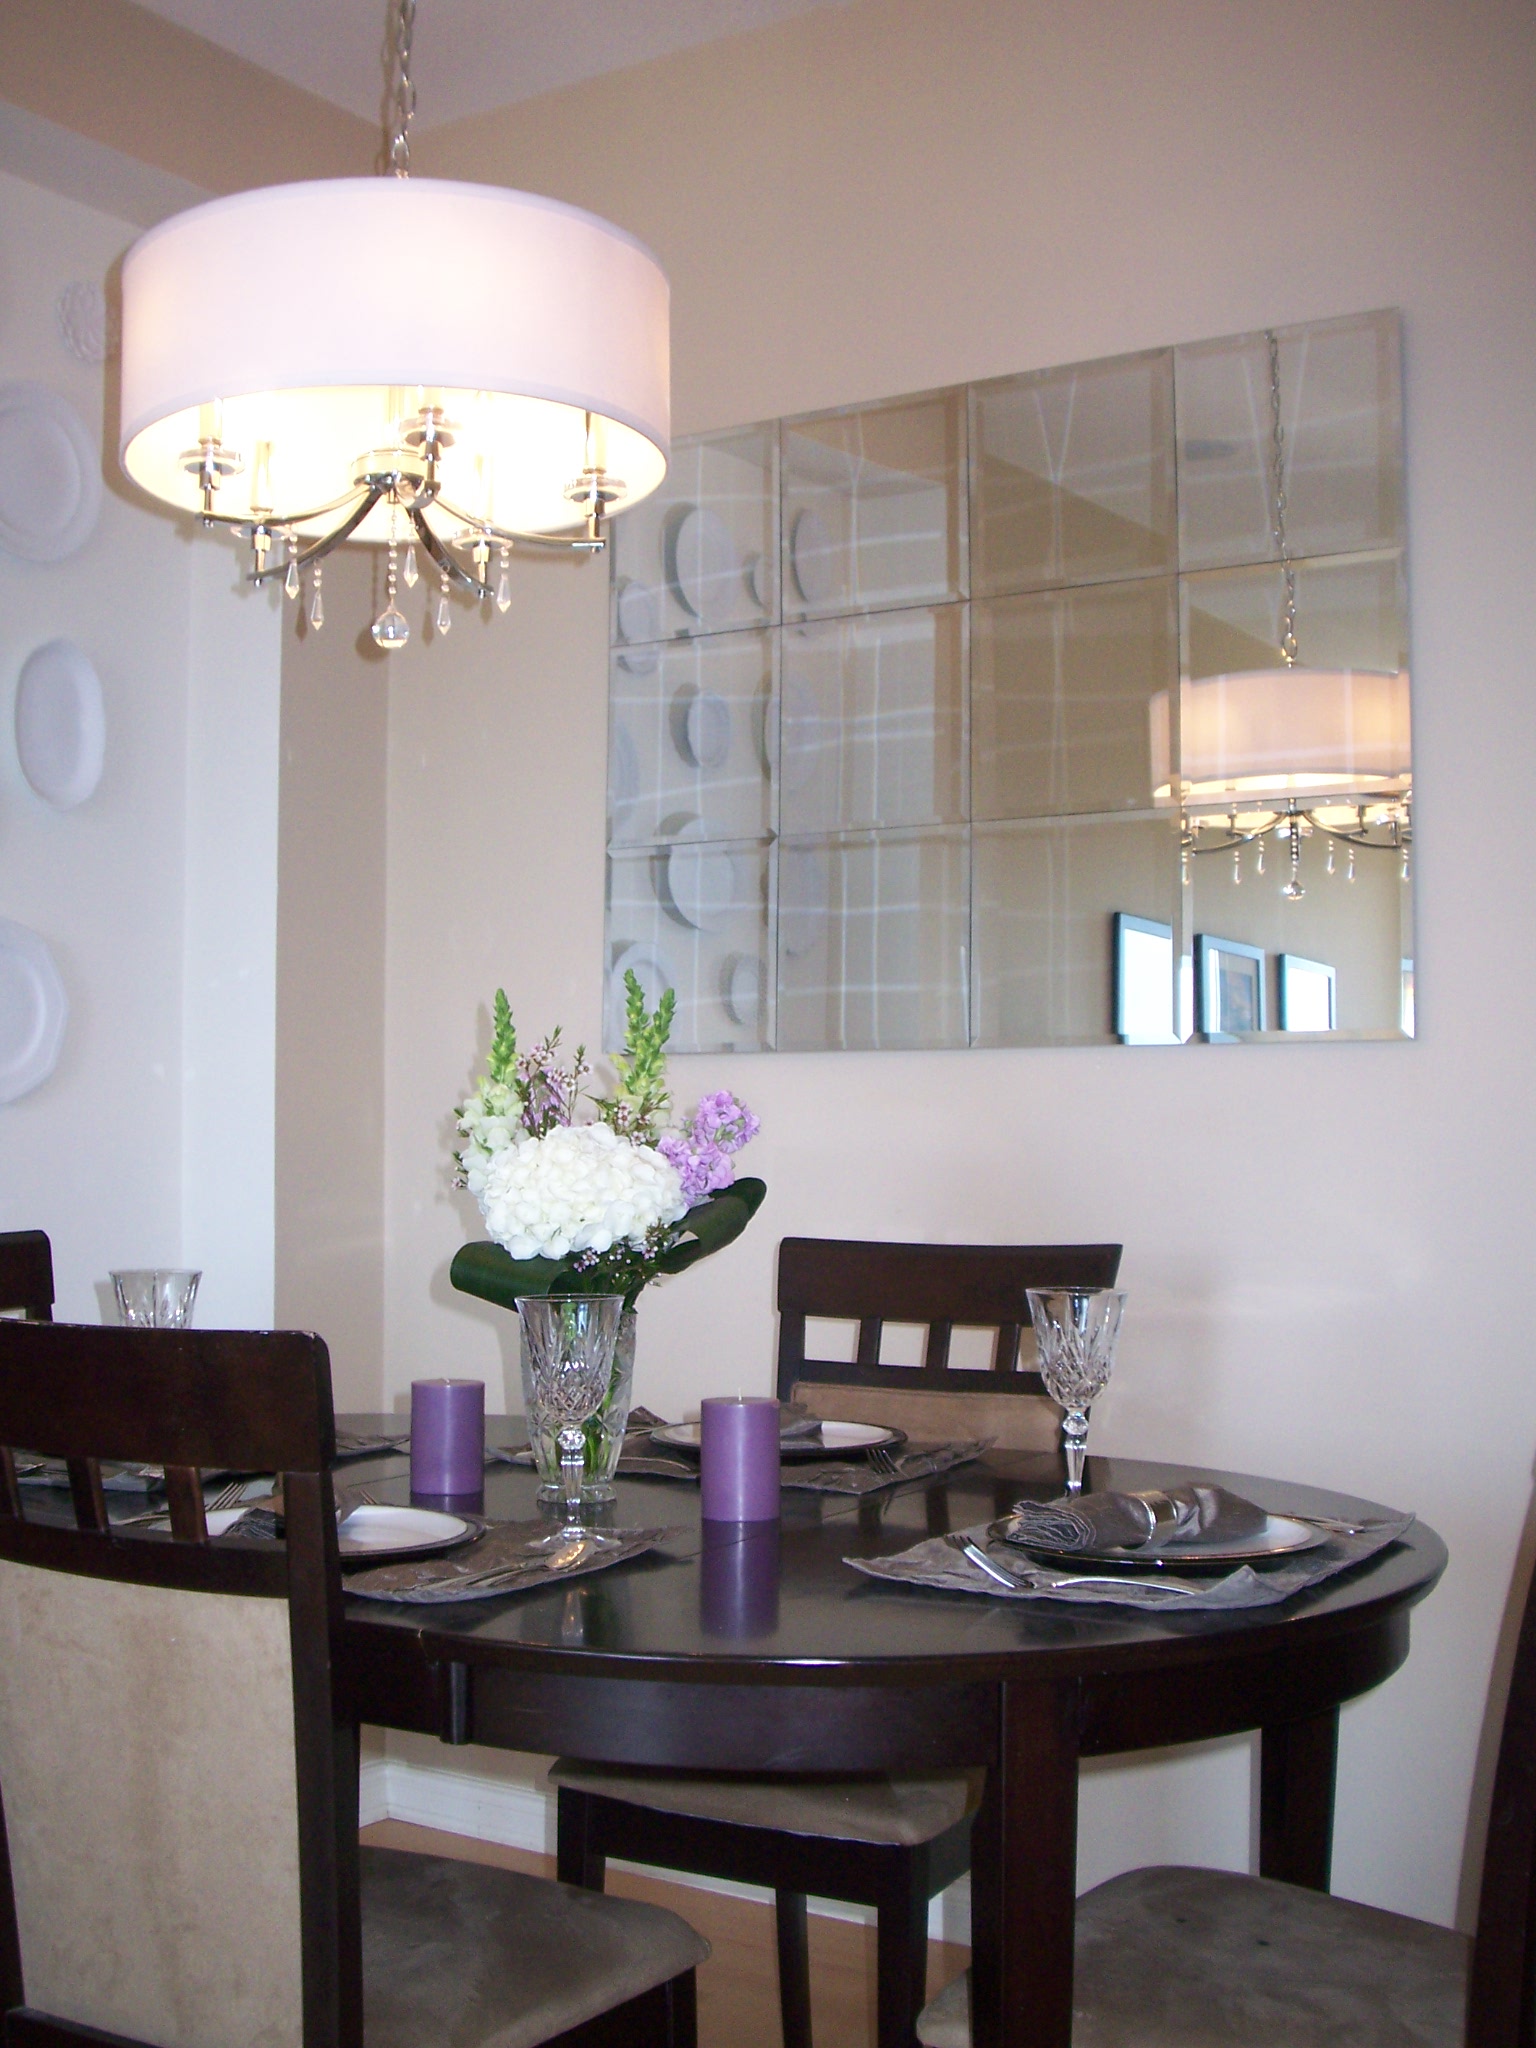
With nine foot high ceilings throughout our townhouse’s main floor I decided we needed something big and beautiful on our dining room wall. I love how mirrors increase visual space and I knew that a large mirror in this area would brighten things up by reflecting light from the window opposite.
Voila!
Step 3: Buy a new dining set, this one is falling apart, literally. Ah tax return, how I look forward to you in the new year.
What you need for this project is 12 inch beveled mirrors (available in six packs at Lowes), a flat mount hanger (also at Lowes), 1/4 inch mdf, construction adhesive and caulking gun, black spray paint, a couple extra small pieces of 1/4 inch mdf, a drill, and a glass of wine.
Why a glass of wine? Because with beveled mirror tiles plans never go perfectly so you just need to take a deep breath (or gulp) and work with what you have. Part of DIY being therapeutic is to roll with the punches and accept imperfection.
Step 1: Get mdf cut to one inch less in length and width than your desired size of end product (for me, 3 feet 11 inches by 2 feet 11 inches). Having the mirror be larger than the mdf makes it so that you don’t end up seeing the mdf at the corners when it is hanging.
Step 2: Use a long narrow piece of 1/4 mdf and glue it with construction adhesive to the back of the large piece of mdf, flush with the top edge. A 1/2 inch board of mdf for the whole mirror would be too visible and heavy once it is mounted, so I added that second layer at the top to provide enough grab for the screws used with the mounting hardware. Also glue two small random pieces near the bottom of the board so it will hang straight.


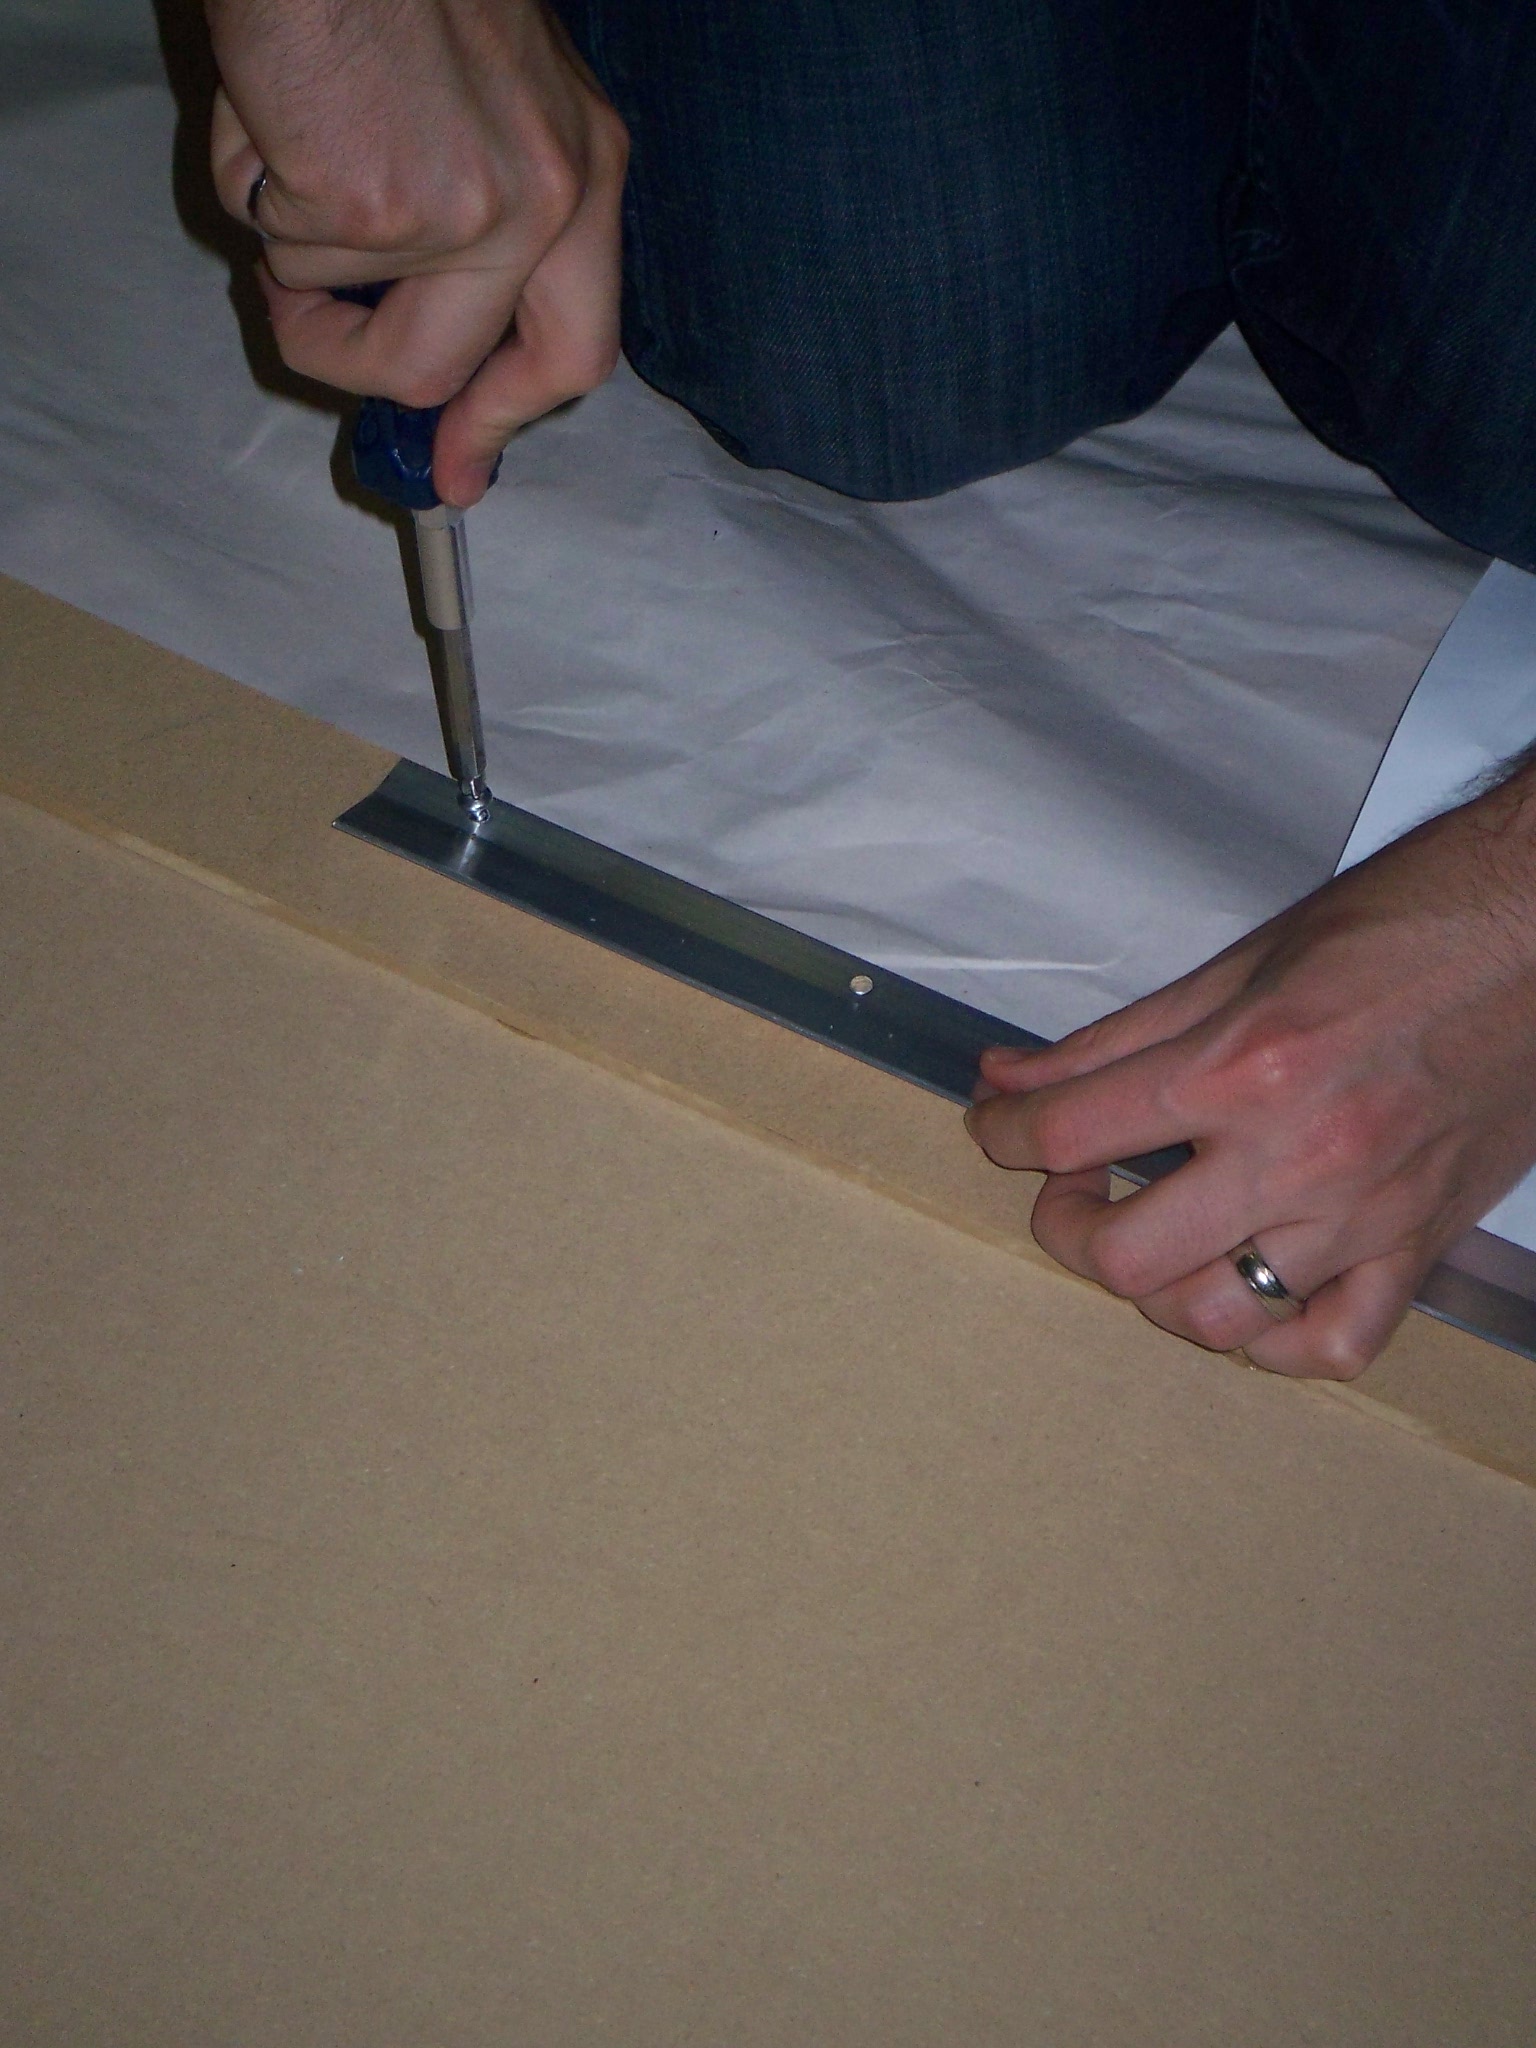
Step 3: Place mounting hardware flush at the top of the piece of mdf on top of the added piece and use a marker to mark where the screw holes are.
Step 4: Pre-drill holes to prevent mdf from splitting then screw hardware into place (it’s fine if you drill all the way through the mdf, you won’t see it when the mirror is finished).
Step 5: Screw mounting hardware into pre-drilled holes.
Step 6: Line up the first row of mirrors flush with the top edge of the mdf. Draw a grid to show approximately where your mirrors will be placed.
Step 7: Use black paint, spray or other, to paint the lines you have drawn. This is to make the space between the mirrors, that despite your best efforts you cannot eliminate, less obvious.

Step 8: Have a glass of wine and let the paint dry
Step 9: Apply a moderate amount of construction adhesive to each square at the top edge of the board. For this row set up the mirror tiles so they are flush with the top of the board. This will give you a straight line for the rest of your tiles. Have the first and last tile in the row hang a half inch over the side of the board.
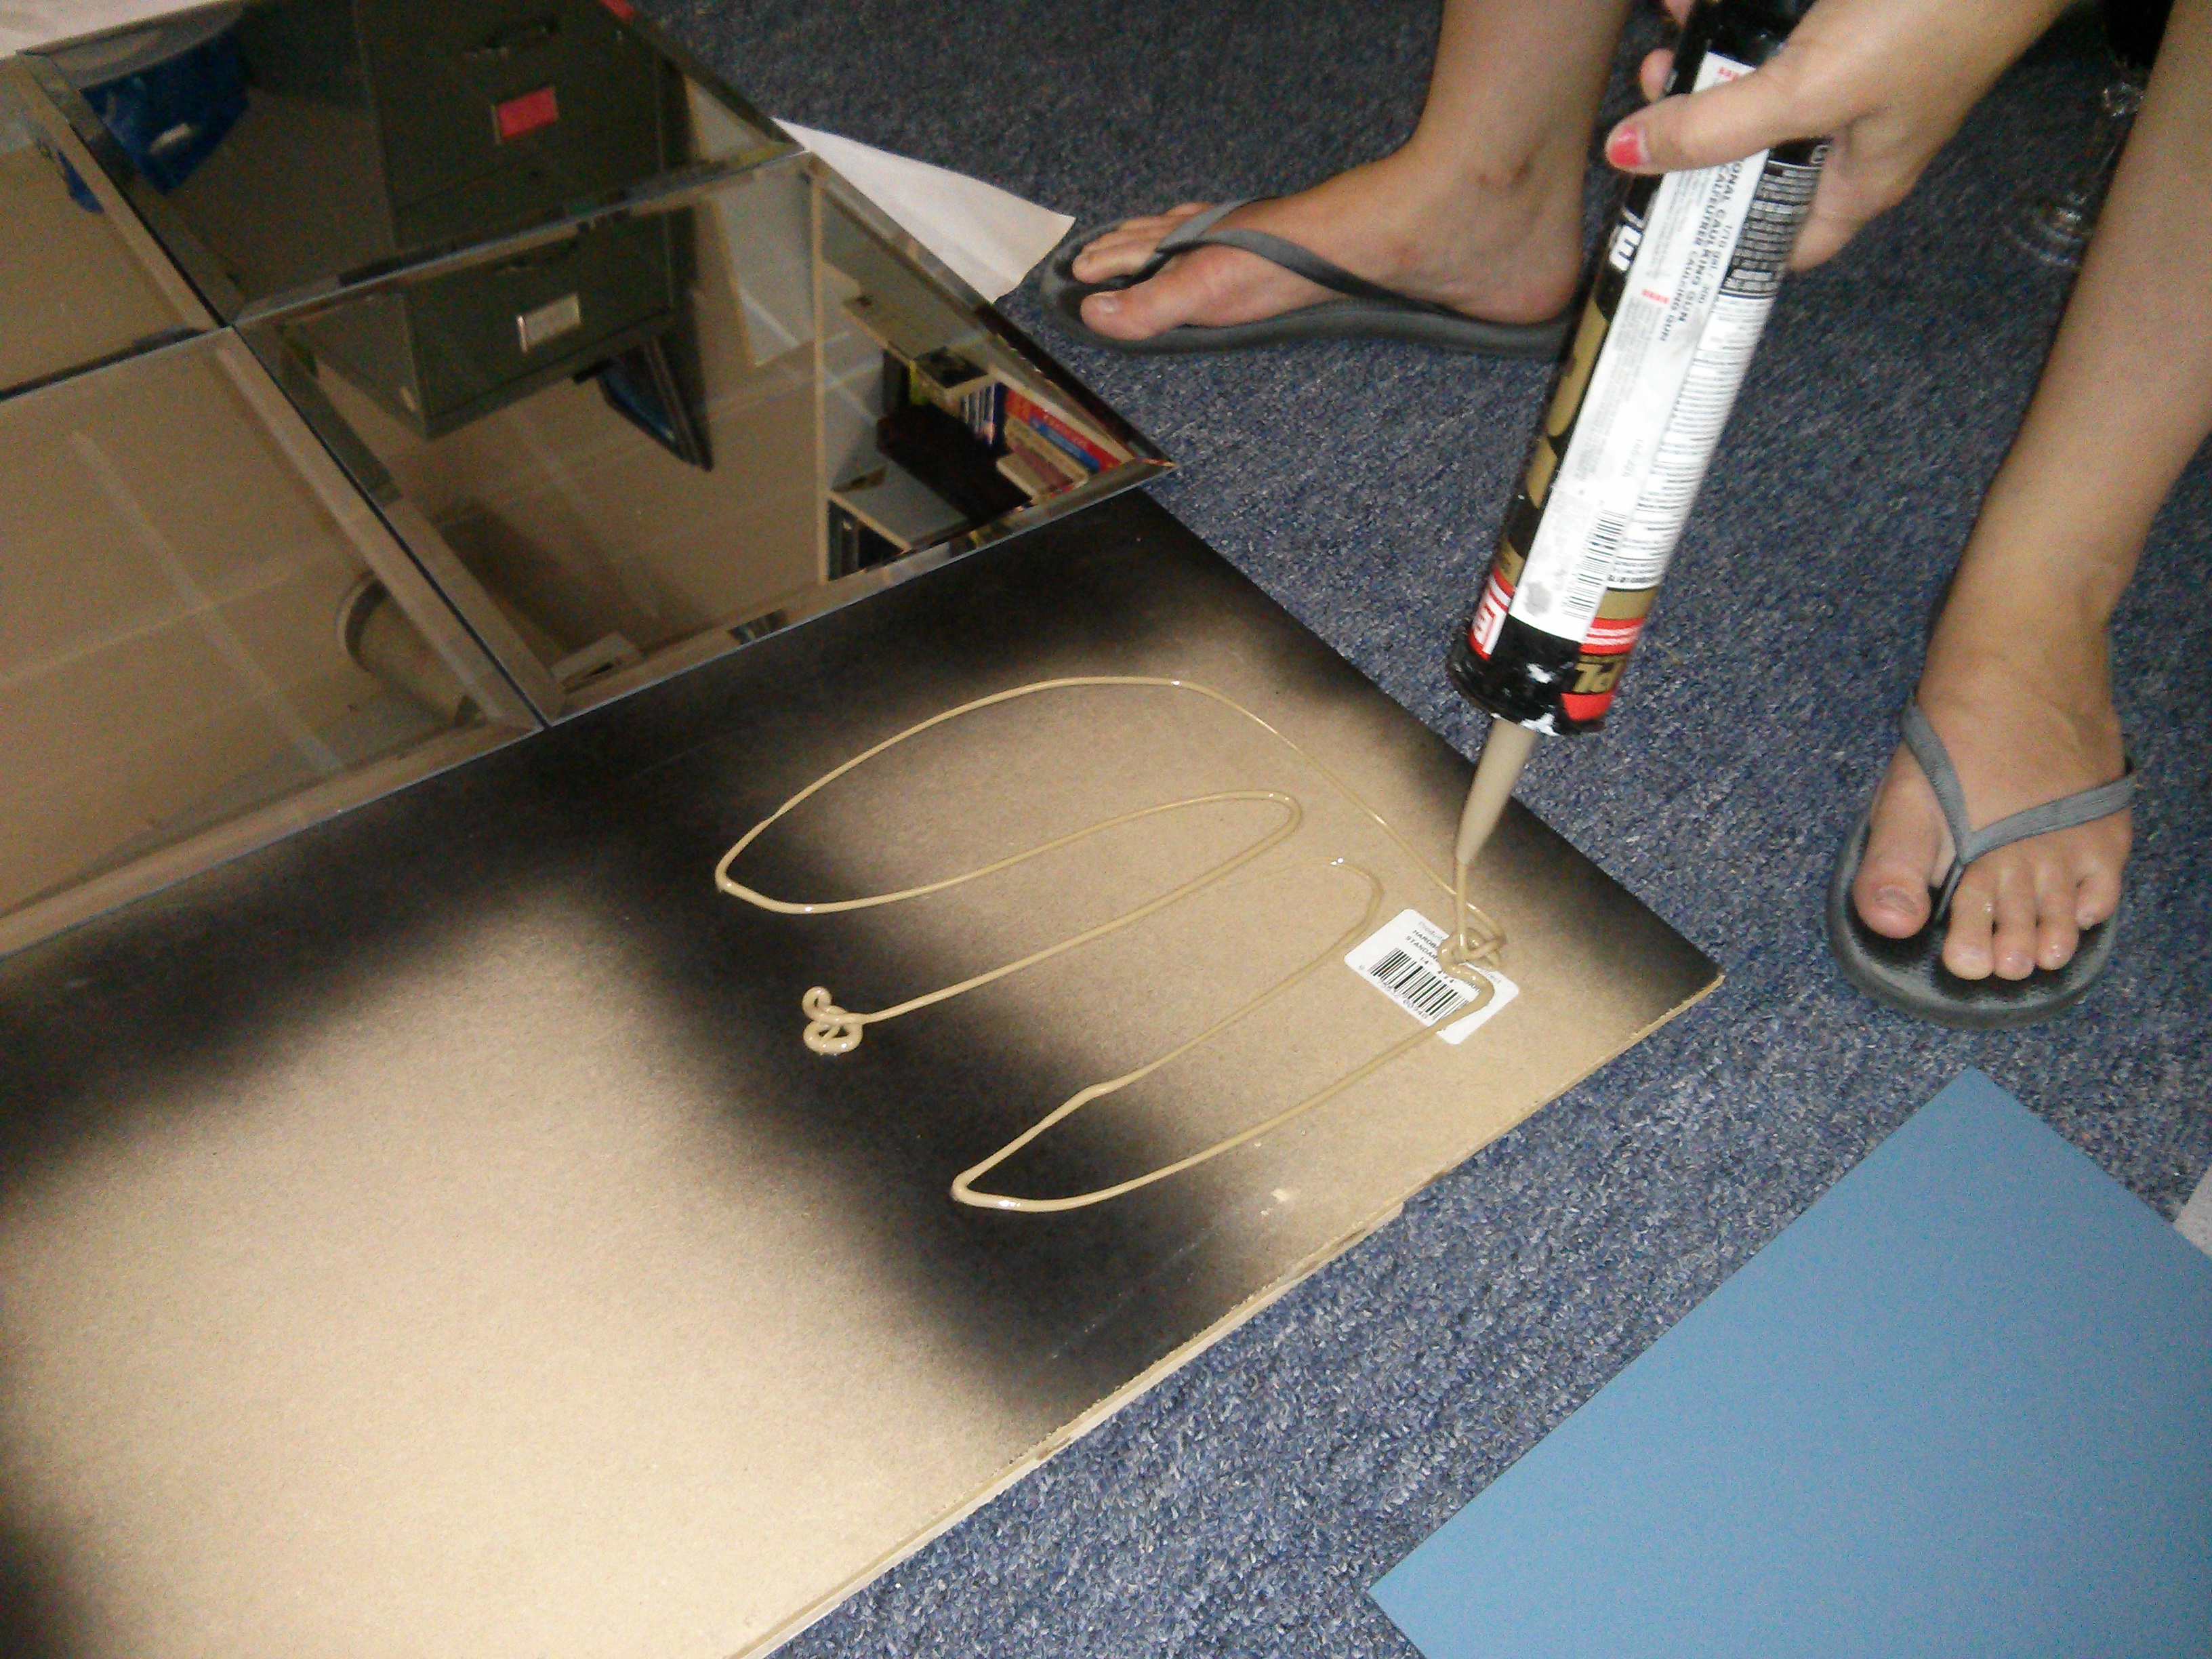
Step 10: Allow the construction adhesive time to do its thing. It is best to do the next rows once the previous row is solidly in place so you don’t mess up your straight line. You can also use books or other heavy-ish objects to keep the sides and corners of the mirrors flat against the mdf while the adhesive sets.
Step 11: Continue with the second row in the same manner, lining up as best as possible. It will not be perfect and there will be gaps, but with the black paint in between the mirrors the gaps are not obvious once hung. Continue with each row once the previous has adhered.
Step 12: Attach the other half of the flush mount hanger to the wall then hang the mirror up and you’re done!